Installing Solar on a Spanish Tile Roof
This page preserves the original ABC Solar photo sequence for light Spanish tile roofs, rebuilt with a modern, mobile-first layout. The method is simple: respect the roof, hit structure, and waterproof like your reputation depends on it—because it does.
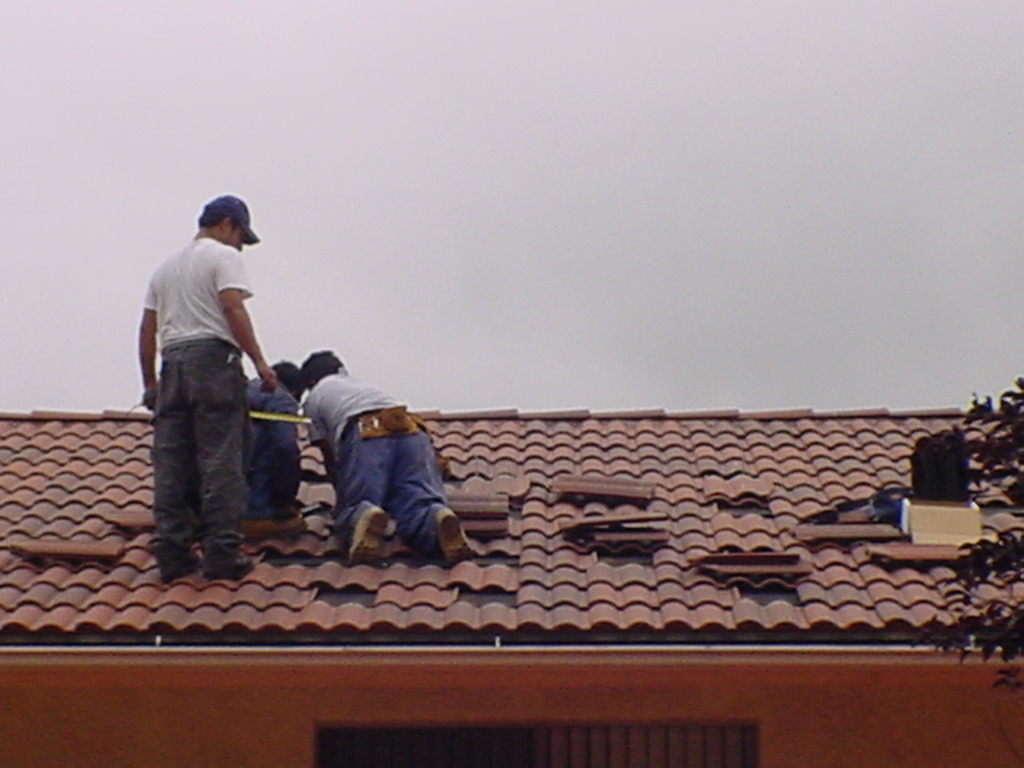
1) Removing Specific Tiles (to reach rafters)
For light Spanish tile roofs, tiles are removed above the rafter locations so mounting feet can be installed properly. The mounting feet fit under the tile and form the foundation of the rooftop solar installation.
Each tile is drilled so the tile can be replaced, and a riser is attached to the mounting foot—allowing the rail system to mount securely while preserving the roof’s finished surface.
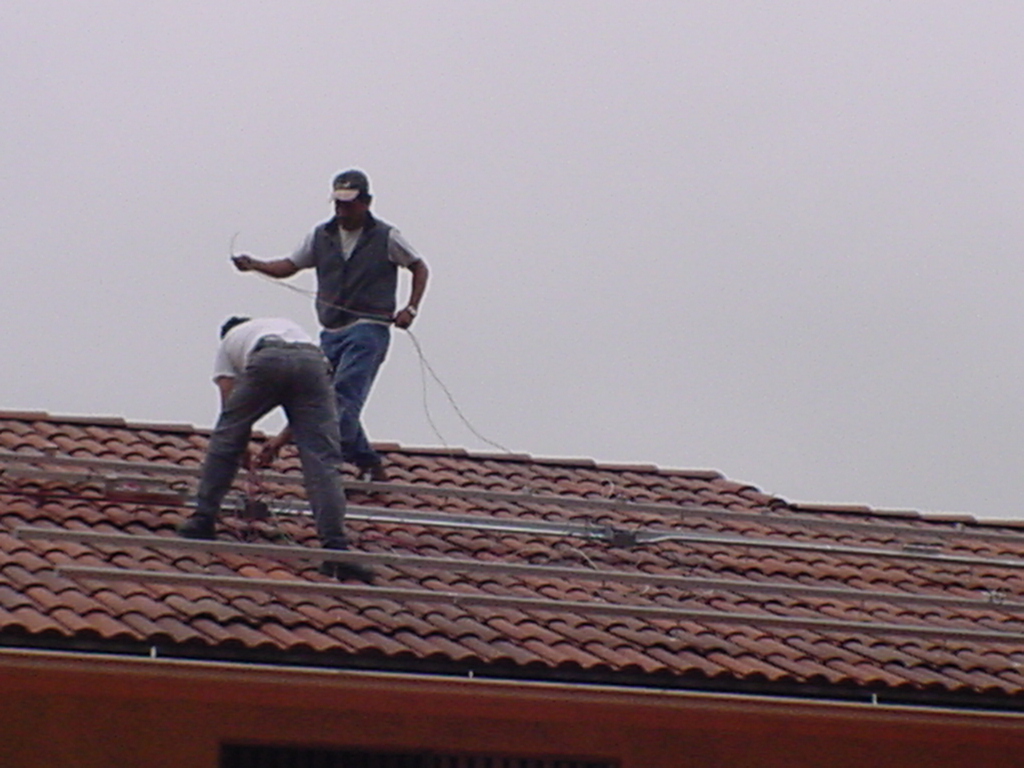
2) Feeder Drill Holes (smooth, safe, strong)
Once the rafters and mount layout are confirmed, feeder holes are drilled to make bolting into the rafter smoother, safer, and stronger. (Hardware is selected per engineering and roof conditions.)
3) Waterproofing (job #1)
Every penetration is sealed using standard roofing penetration waterproofing materials. On tile roofs, this is non-negotiable: if the roof leaks, the job is not finished.
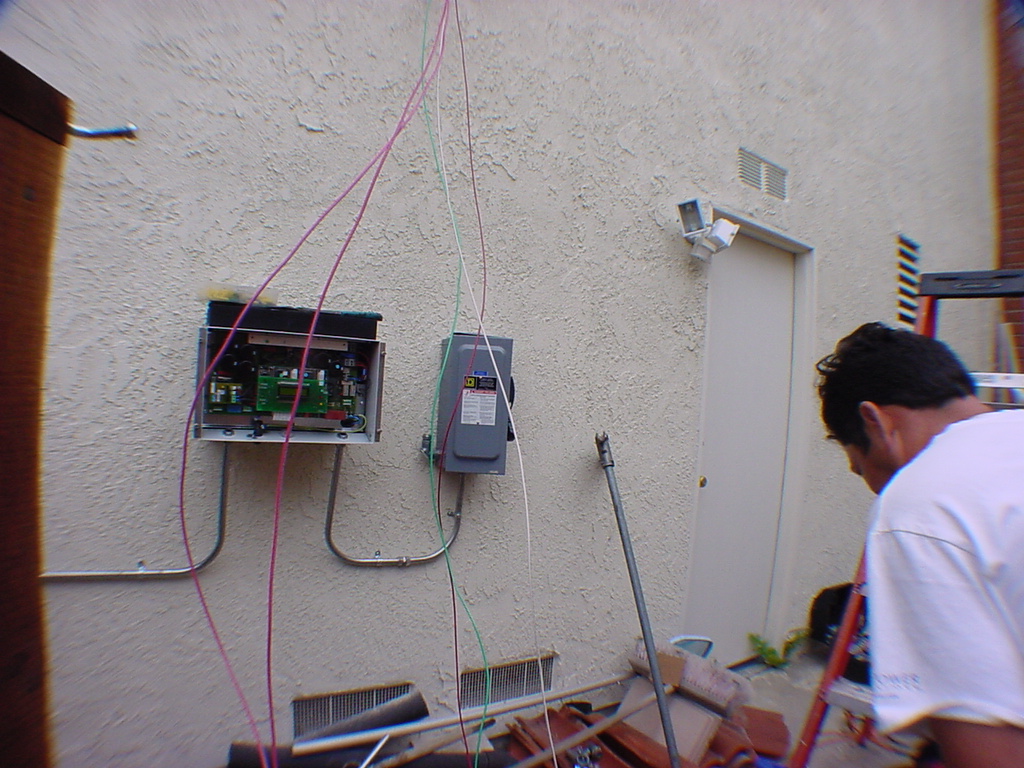
4) Rails Attach to the Solar Mounts
Rails are laid along the mounts to confirm distance, straightness, and the intended module layout (portrait vs landscape). Rails are drilled above each mount and attached with the appropriate hardware.
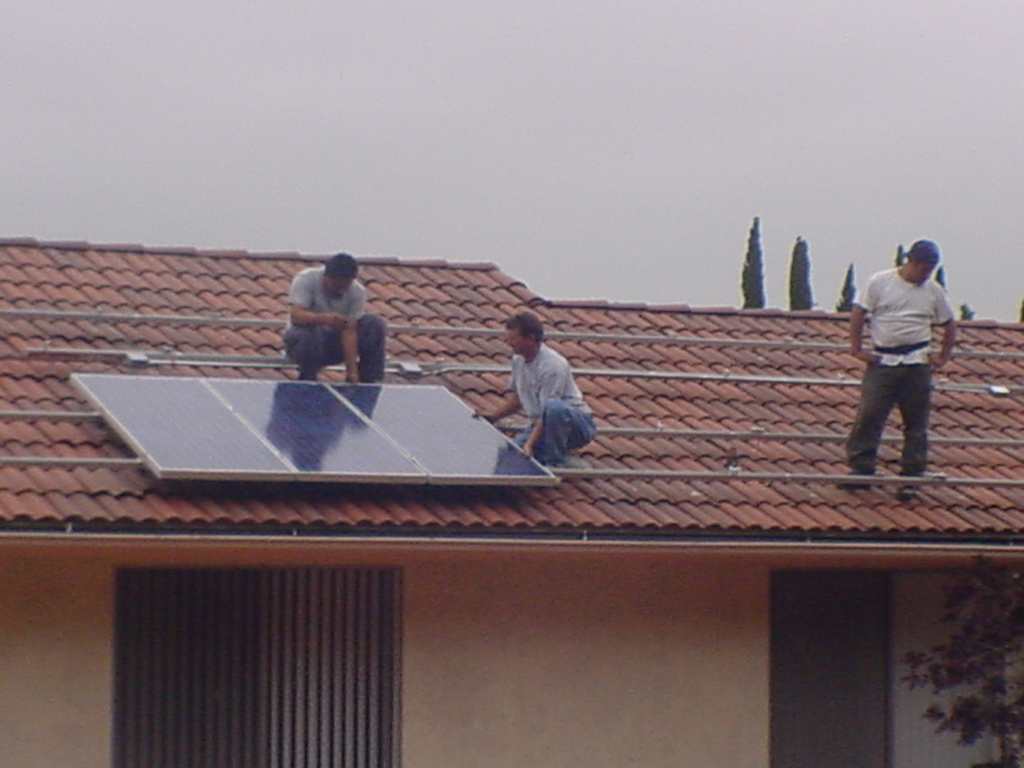
5) Solar Panels Attached to Rails (finish clean)
The most satisfying part: modules are attached to the rails, aligned, clamped, and wired. The finished array should look intentional—straight lines, consistent spacing, and a quiet, rigid structure.
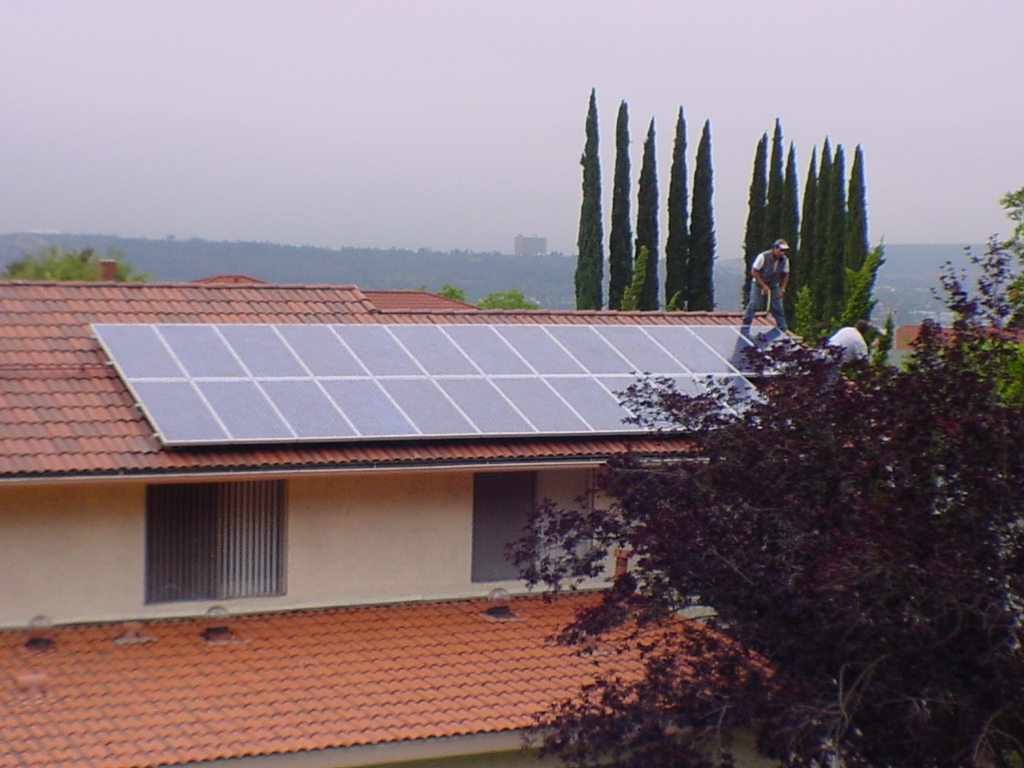
First decision: choose the best roof plane
Before tile comes off, the most important decision is selecting the optimum roof surface: minimize shading, avoid tricky obstructions, keep conduit runs sane, and pick the cleanest electrical path.
The best-looking system is the one that’s designed correctly from the start.