Installing Solar on New Construction (and ADUs)
New construction is the best time to do solar right: the roof is open, the electrical is being designed, and you can plan conduit runs and equipment placement cleanly—before drywall hides everything. This page preserves ABC Solar’s original photo sequence and adds modern guidance for ADUs (Accessory Dwelling Units), batteries, EV charging, and “future-proof” electrical design.
Cleanest electrical paths
Conduit, combiner locations, and equipment pads can be planned like architecture—not like a retrofit patch.
Roof-first integration
Mounts are set while the roof is being built, then the roof is finished around them.
ADU planning
Solar for the main house + ADU works best when meters, panels, and pathways are planned together.
New construction context (original project photos)
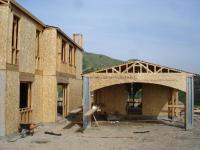
These photos show what “new construction solar” looks like in real life—roof structure, mount placement, and the clean staging that’s possible when the build is planned.
1) Mounting Feet (installed at the plywood stage)
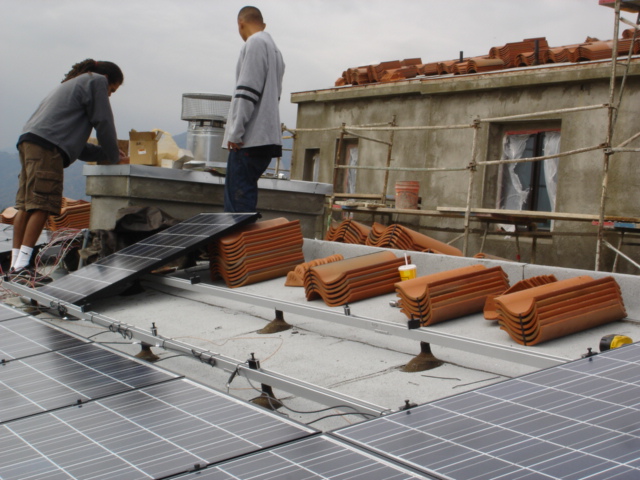
With new construction, we bolt the solar mounting feet at the plywood stage of the roof. Mounting feet are the primary component of a rooftop solar installation: they anchor the rails that hold the solar modules.
On new roofs our solar crew installs the feet. On retrofit solar installations, mounting feet are installed by a licensed roofer. The feet allow about 2' of rail overrun at the ends and about 4'–6' across an entire row span (project-dependent).
2) Waterproofing (roof-first discipline)
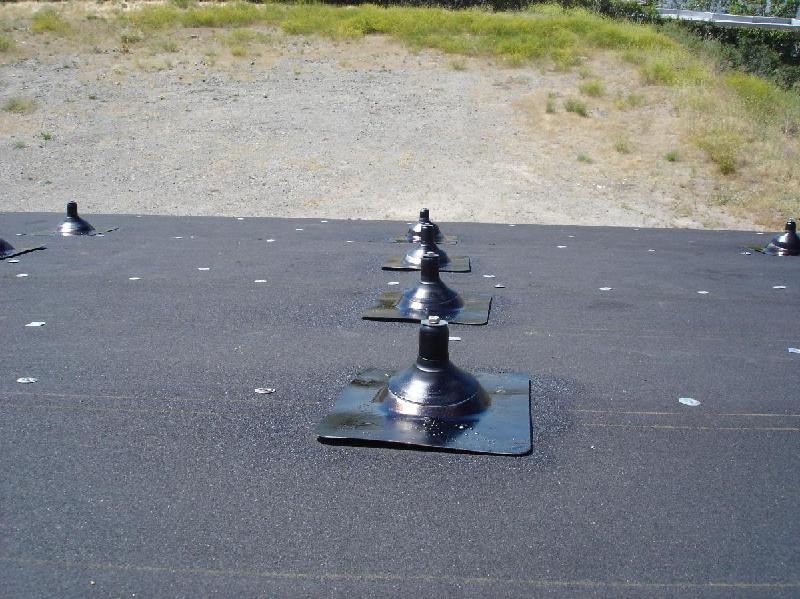
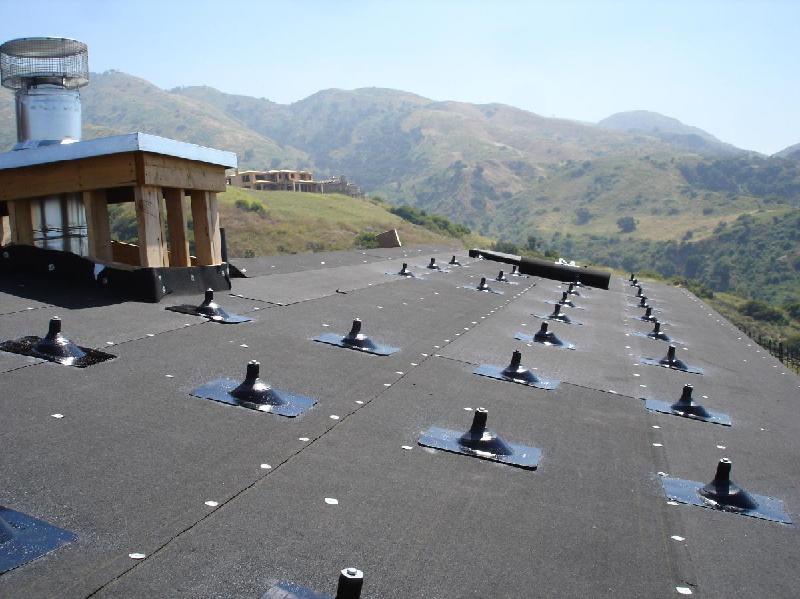
In addition to flashing, we use standard roofing penetration waterproofing materials, including Henry’s and tacky tape. The goal is simple: the roof stays a roof for decades.
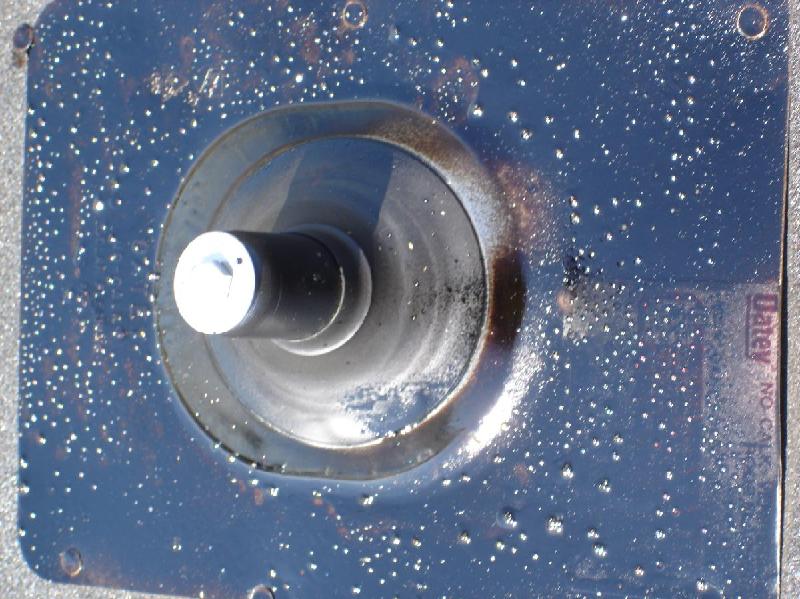
3) Feeder Drill Holes (smooth, safe, strong)
Once rafters and the layout of the feet are determined, we drill feeder holes to make bolting the feet to the rafter smoother, safer, and stronger.
Original documentation references 5/16" x 3" lag screws per mounting foot (final specs vary by engineering, roof type, and site conditions).
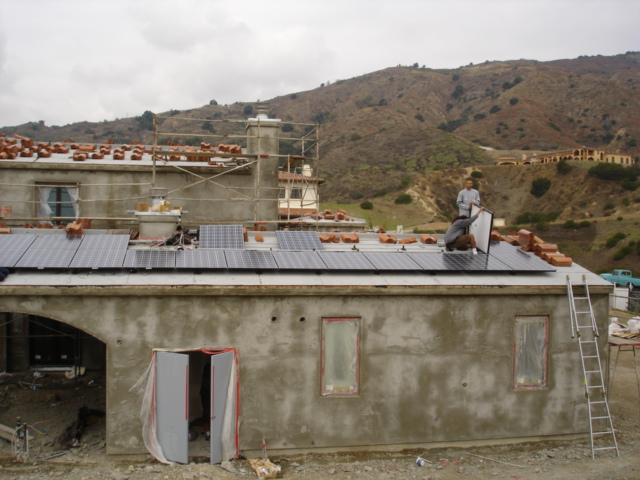
4) Solar Rails Attach to Solar Mounts
Rails are laid along the mounts to check distance and straightness. Panel count is calculated by width/height depending on portrait vs landscape orientation (including allowance for mounting parts).
Rails are drilled above each mount and attached with washer and bolt. Straight rails now = clean array later.
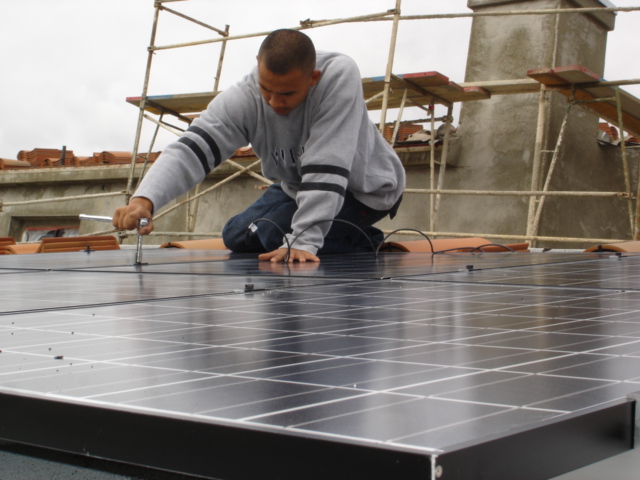
5) Solar Panels Are Attached to the Rails
Once rails are straight and secure, modules are attached and wiring is dressed. The result is a clean, high-performing solar installation.
The original example references a 3kW grid-tie solar electric system and a 1HP solar pool pump. Modern new construction often includes batteries and EV charging readiness as well.

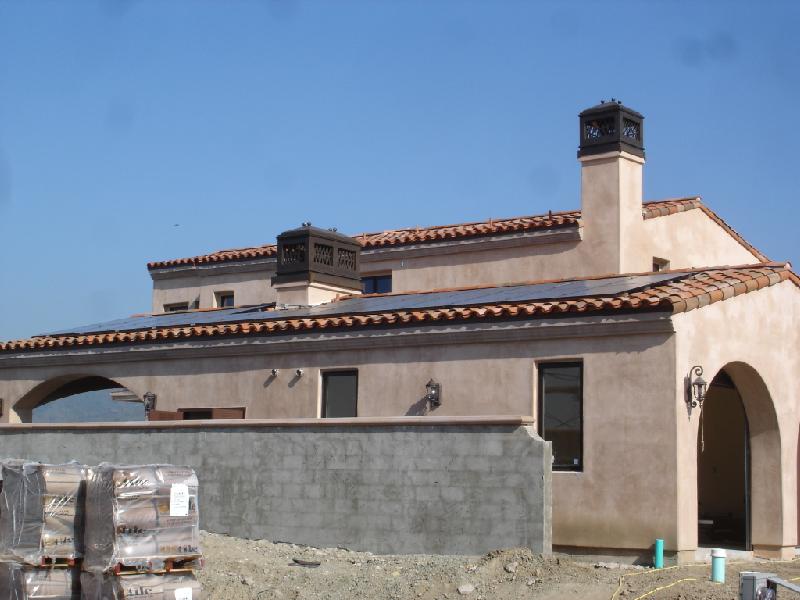
ADUs (Accessory Dwelling Units): do solar right the first time
ADUs change the math. You’re adding real, daily loads (HVAC, water heating, laundry, cooking, EV charging), often on a tight footprint. The best ADU solar outcomes come from planning the main house + ADU as a single energy design problem.
Roof space is limited
ADU roofs are small. We maximize usable planes, avoid shade traps, and plan a layout that still looks clean.
Main panel planning matters
ADUs often trigger panel upgrades or subpanel strategy. We plan equipment placement and conduit routes early.
Decide: shared vs separate electrical
Some ADUs are tied to the main service; others are built with distinct electrical architecture. We design to your plan and permitting reality.
Battery-ready is the modern baseline
If you want resilience, plan the battery location, clearances, and critical-load strategy before the walls close.
EV charging is an ADU wildcard
Even if you “don’t need it now,” conduit and capacity planning are cheap during construction and expensive later.
Quiet, clean equipment placement
ADUs are close to neighbors. We plan inverter/battery placement for safety, code, sound, and a clean look.
Builder / Architect checklist (new construction + ADU)
These decisions, made early, are what create a clean, expandable solar project later.
Pick the best roof face
Shade from trees and chimneys matters. We plan around it now so you don’t lose production forever.
Conduit routes that disappear
New construction lets us route conduit through framing and chases so the exterior stays clean.
Equipment wall + pad location
We plan inverter/battery locations where service access is practical and code clearances are respected.
Future capacity planning
Heat pumps, induction, EV charging, and ADUs change loads. Design electrical capacity for reality, not hope.
Roof details
Skylights, vents, and penetrations should be coordinated so the array can be straight and the roof stays clean.
Service pathways
We keep access to roof features realistic for future maintenance—solar should not trap you.
First consideration: picking the best roof face
The first consideration for all solar installations is picking the best roof face to use for your system. Factors to consider are shade from trees and chimneys and the conduit run from the panels to the main electrical panel.
Design it right once. Install it clean once. Service it easily forever. CCL#914346