Installing Solar on a Flat Roof
This page preserves the original ABC Solar flat-roof photo sequence, rebuilt with a modern, mobile-first layout. Flat roofs are a different game: tilt planning, wind loads, drainage, and roof membrane protection matter as much as the electrical.
Drainage stays open
We keep scuppers, drains, and flow paths clear—no “puddles forever” designs.
Wind uplift matters
Flat-roof racking must be engineered for uplift and attachment—especially at edges and corners.
Membrane protection
Walk pads, careful staging, and clean routing protect the roof surface during install and service.
0) Orientation + Tilt (the flat-roof advantage)
On flat roofs, we can set the solar tilt to match the production curve you want. In Southern California we typically set the angle South at 17°.
For customers on time-of-use (TOU) rates, we often install South–Southwest so production lines up better with higher-cost afternoon windows (especially in summer).
1) Mounting Feet (the foundation)
Mounting feet are the primary component of a rooftop solar installation. On retrofit solar installations, the feet are installed by a licensed roofer.
The feet support the rails that support the modules. Typical layouts allow ~2' of overrun at rail ends and ~4'–6' for an entire row span (project-dependent).


2) Waterproofing (do it like you mean it)
Using standard roofing penetration waterproofing materials (including “Henry’s” and tacky tape), we seal every penetration and dress it for long-term exposure.
Flat roofs are unforgiving: water sits longer than on pitched roofs. That’s why waterproofing quality matters even more here.
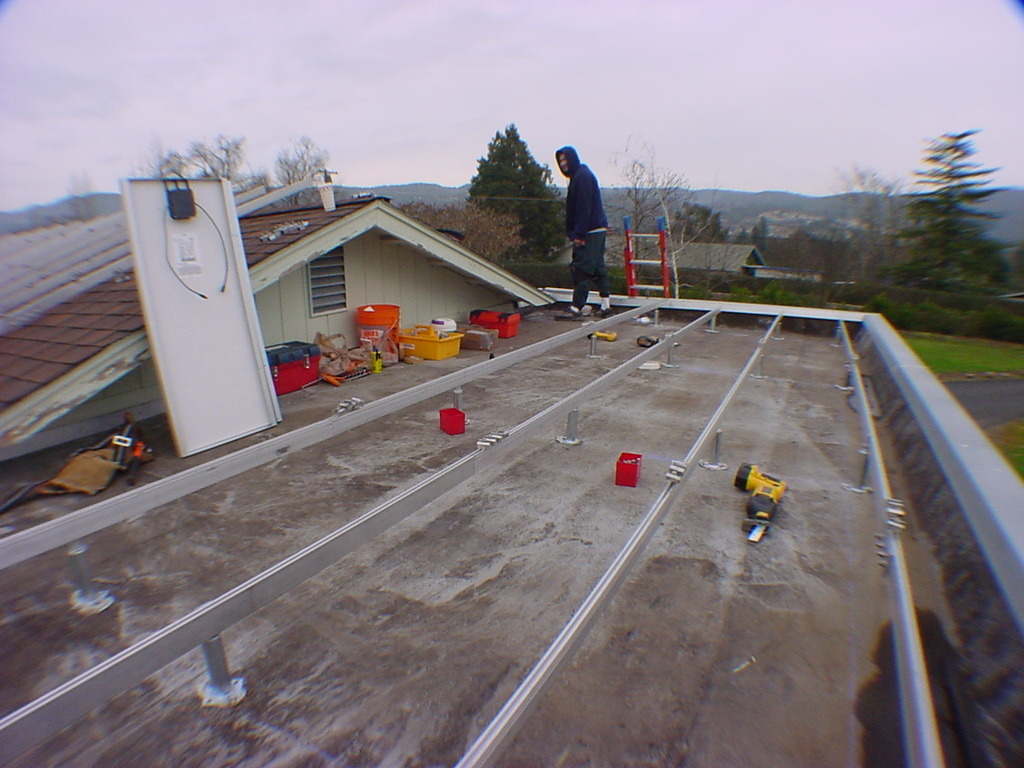
3) Feeder Drill Holes (smooth, safe, strong)
Once the rafters (or structural attachment points) and the layout of the feet are determined, we drill feeder holes to make bolting smoother, safer, and stronger.
Original documentation references 5/16" x 3" lag screws per mounting foot (final specs can vary based on engineering and roof type).
4) Solar Rails Attach to Solar Mounts
The rails are laid along the mounts to check for distance and straightness. Panel count is calculated by width/height depending on portrait vs landscape orientation (including a bit of allowance for mounting parts).
The rails are drilled above each mount and attached with washer and bolt. Straight rails now = clean array later.
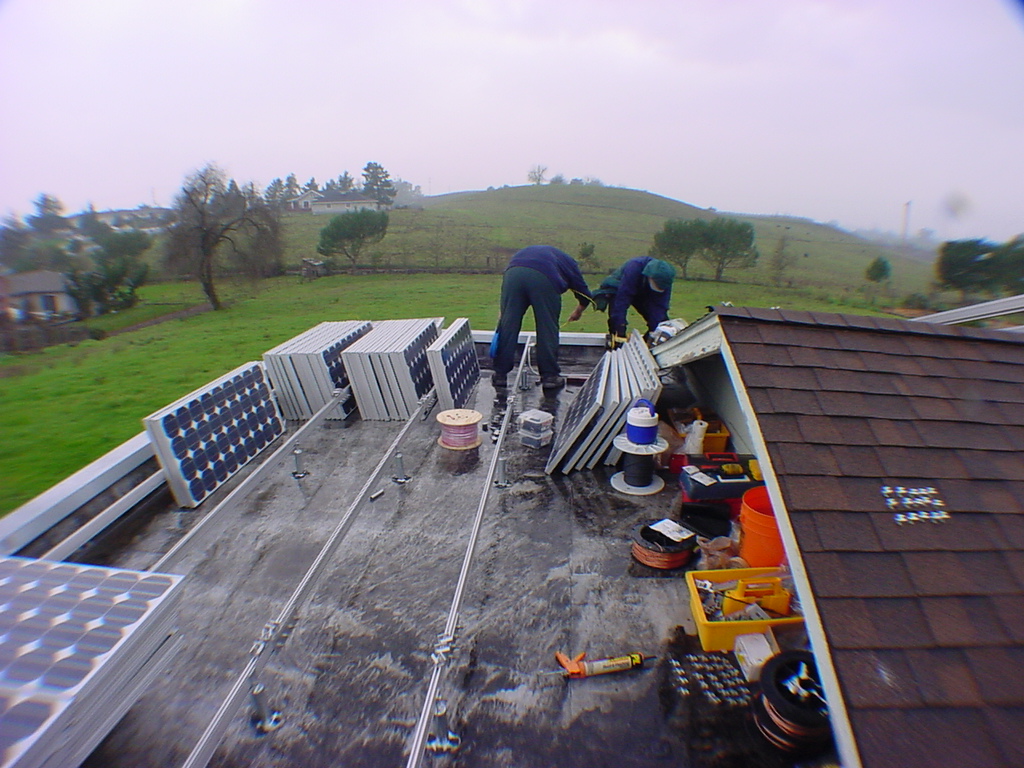
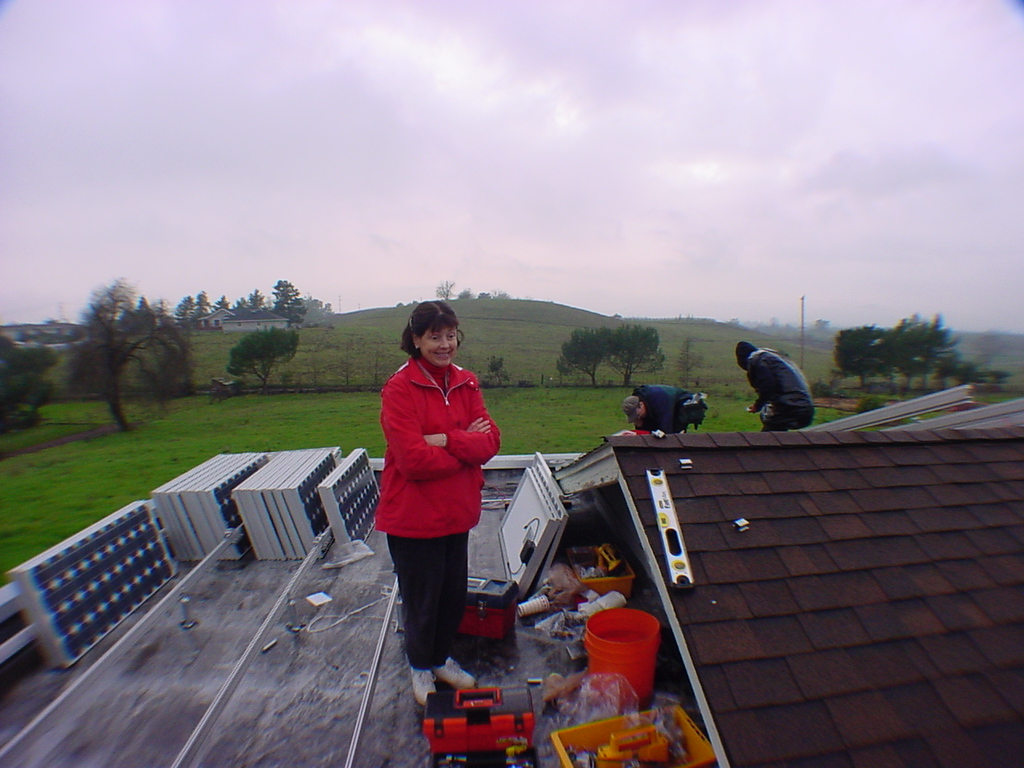
5) Solar Panels Are Attached to the Rails
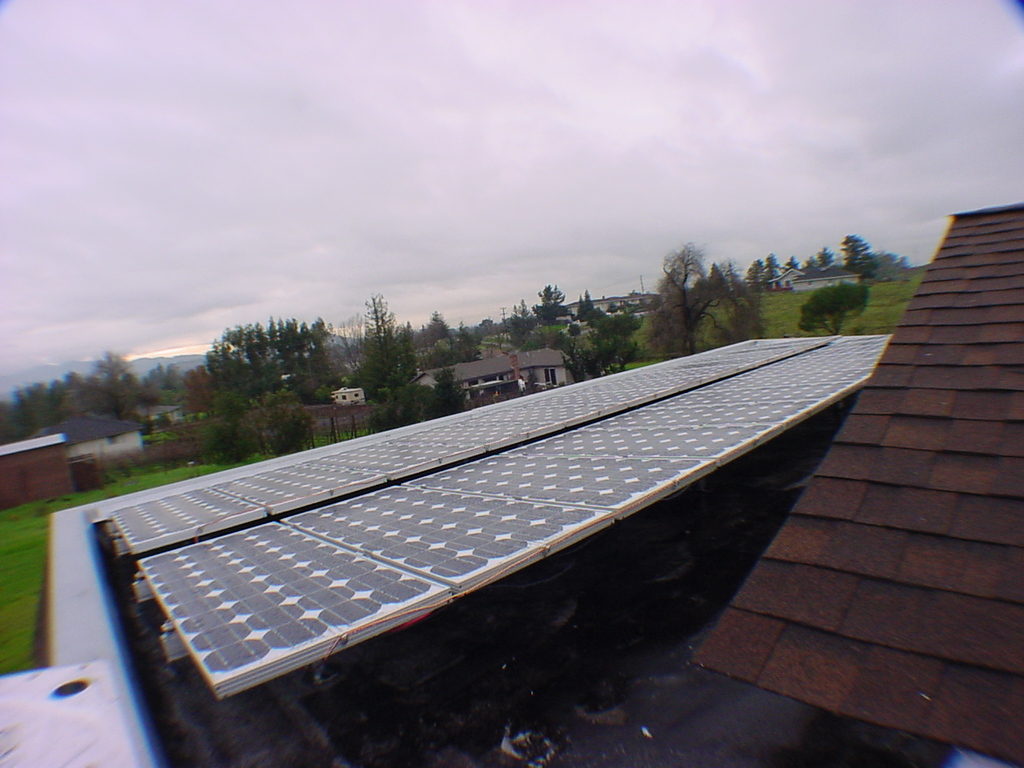
Modules are set, aligned, and clamped. On flat roofs, we keep service paths in mind: access to drains, edges, and rooftop equipment should remain practical for years.
Flat roof installs benefit from airflow under the modules—cooler panels generally perform better. The tilt rack also helps keep the array self-cleaning in normal rain cycles.

Flat roof checklist (what we verify before we build)
This is the stuff that prevents expensive surprises later.
Roof type + condition
TPO/PVC, modified bitumen, built-up, coatings—each behaves differently. We design to the actual roof, not assumptions.
Drainage + ponding
We keep drains/scuppers accessible and avoid layouts that trap water. Ponding is a roof killer.
Wind zones
Edges and corners can see higher uplift. Attachment and engineering must account for it.
Service pathways
We plan access to roof equipment, drains, and perimeter walk lines so service is safe and realistic.
Electrical routing
Conduit runs should be clean and logical to the main electrical equipment—shorter is usually better.
Future upgrades
Battery readiness, EV charging, panel upgrades—design once so you don’t rebuild later.
First consideration: picking the best roof face
The first consideration for all solar installations is picking the best roof face to use for your system. Key factors include shade from trees/chimneys and the conduit run from the array to the main electrical panel.
Design it right once. Install it clean once. Service it easily forever.