Installing Solar on a Concrete Tile Roof
This page preserves the original ABC Solar photo sequence for concrete tile roofs, rebuilt with a modern, mobile-first layout. The core workflow is consistent: remove tiles strategically, mount to structure, waterproof aggressively, set rails straight, and finish the array clean.
1) Removing the Concrete Tiles
Concrete tile roof installs begin with careful tile handling. Tiles are moved/removed where needed to expose the correct mounting locations, keep layout clean, and avoid “guess-work” fasteners.
Clean installs are a key success factor for ABC Solar. We design and install systems that look great.
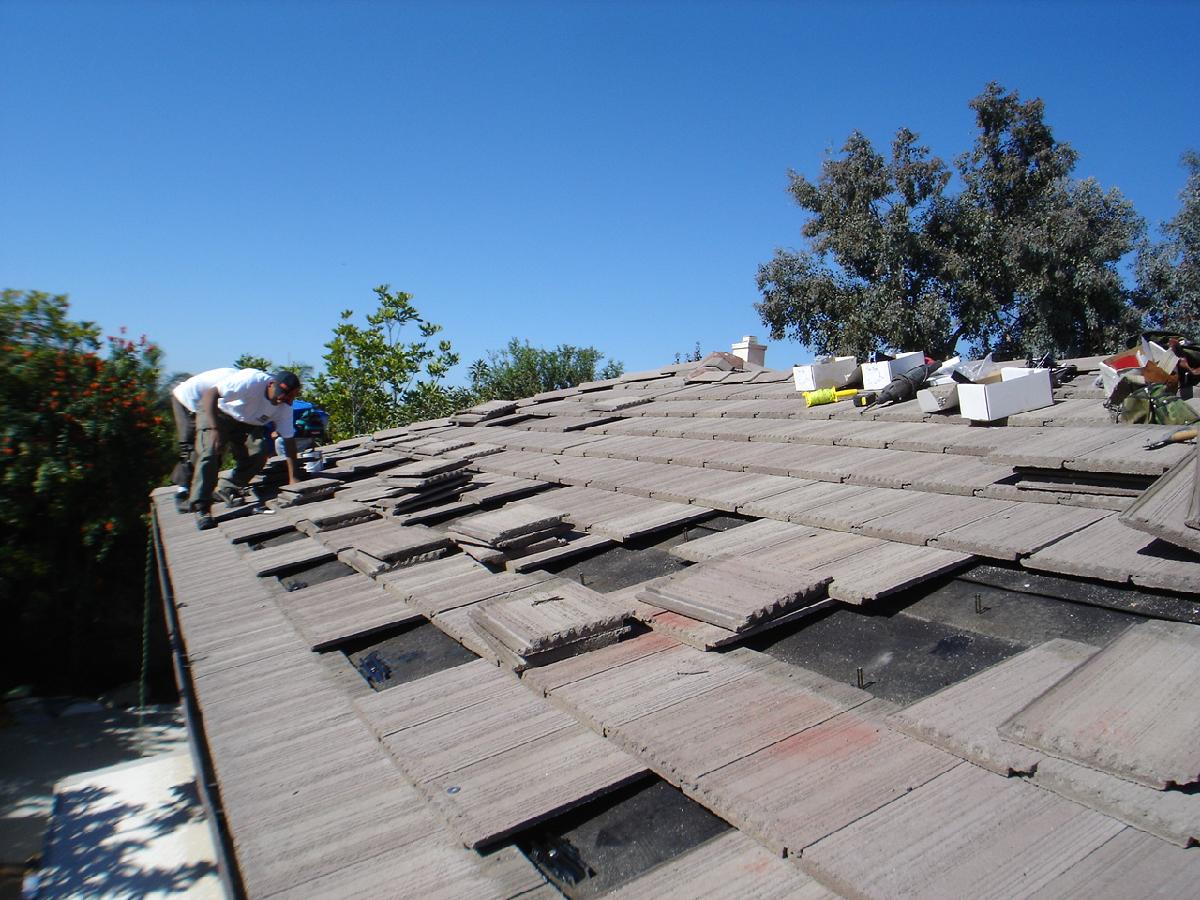
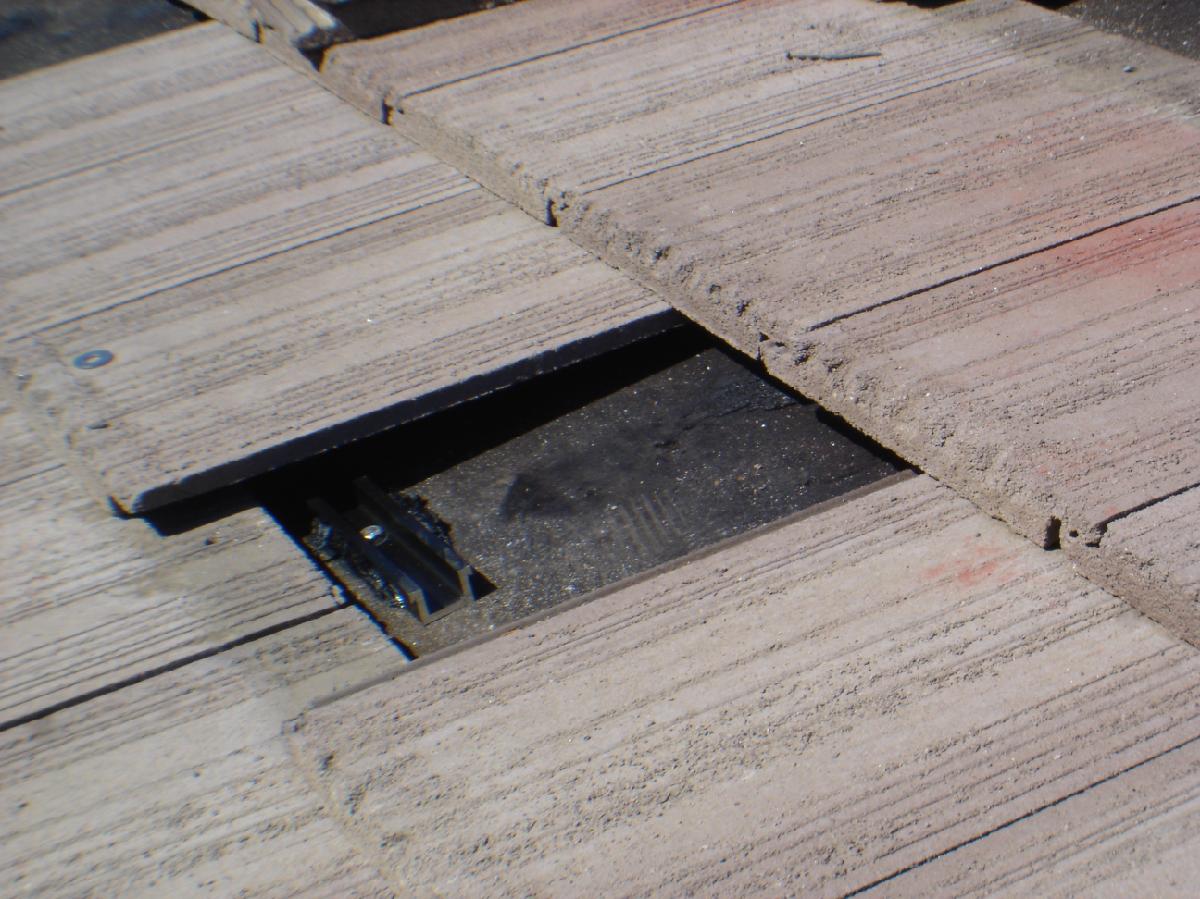
2) Mounting Feet (the foundation under tile)
Mounting feet are the primary component of a rooftop solar installation. On retrofit installs, the feet are installed by a licensed roofer and are mounted to house the solar rails that hold the modules.
Typical layouts allow approximately 2' of overrun at rail ends and 4'–6' over the row span (project-dependent).
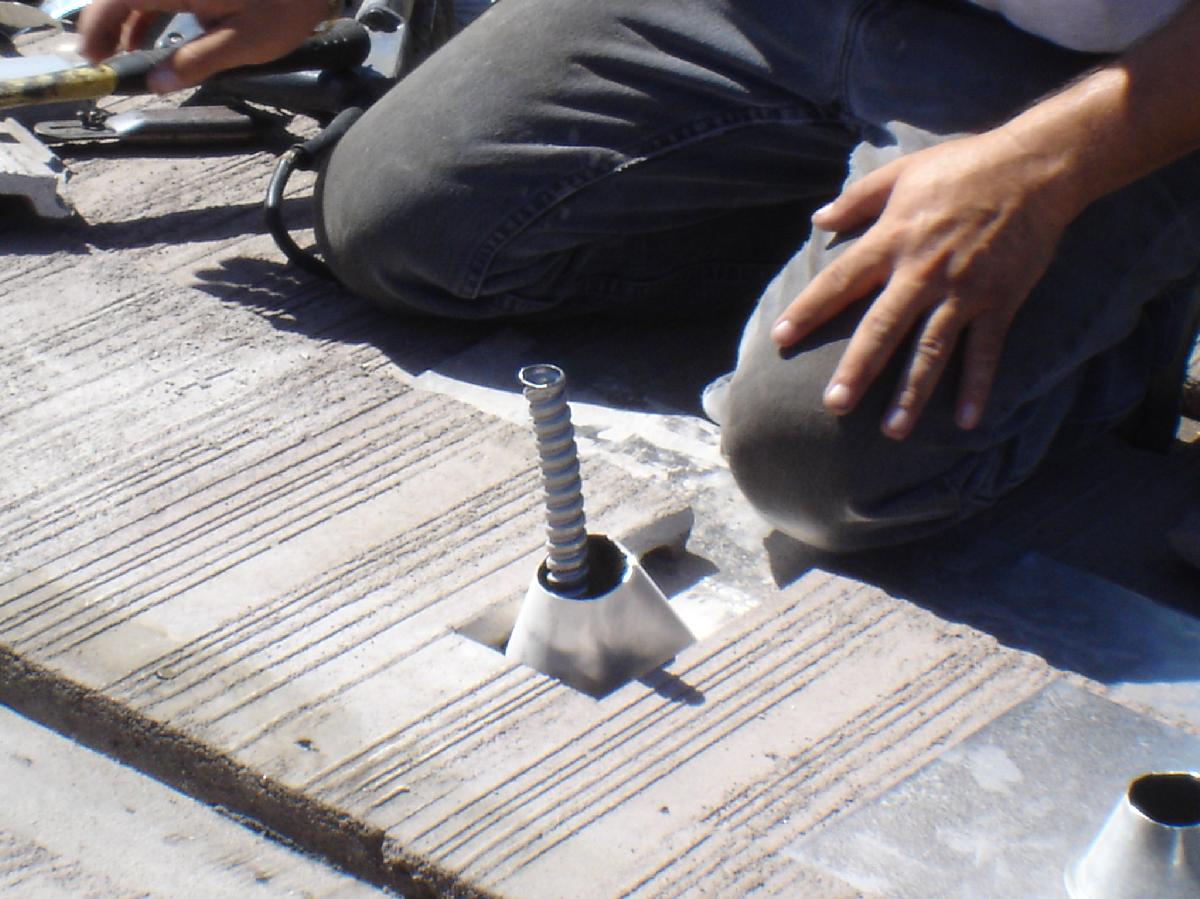
3) Waterproofing (the most important part)
Waterproofing uses standard roofing penetration materials (including “Henry’s” and tacky tape). The goal is simple: a roof that stays a roof for the long haul.
ABC Solar focuses on 100% waterproofing. If the roof leaks, the job is not finished.
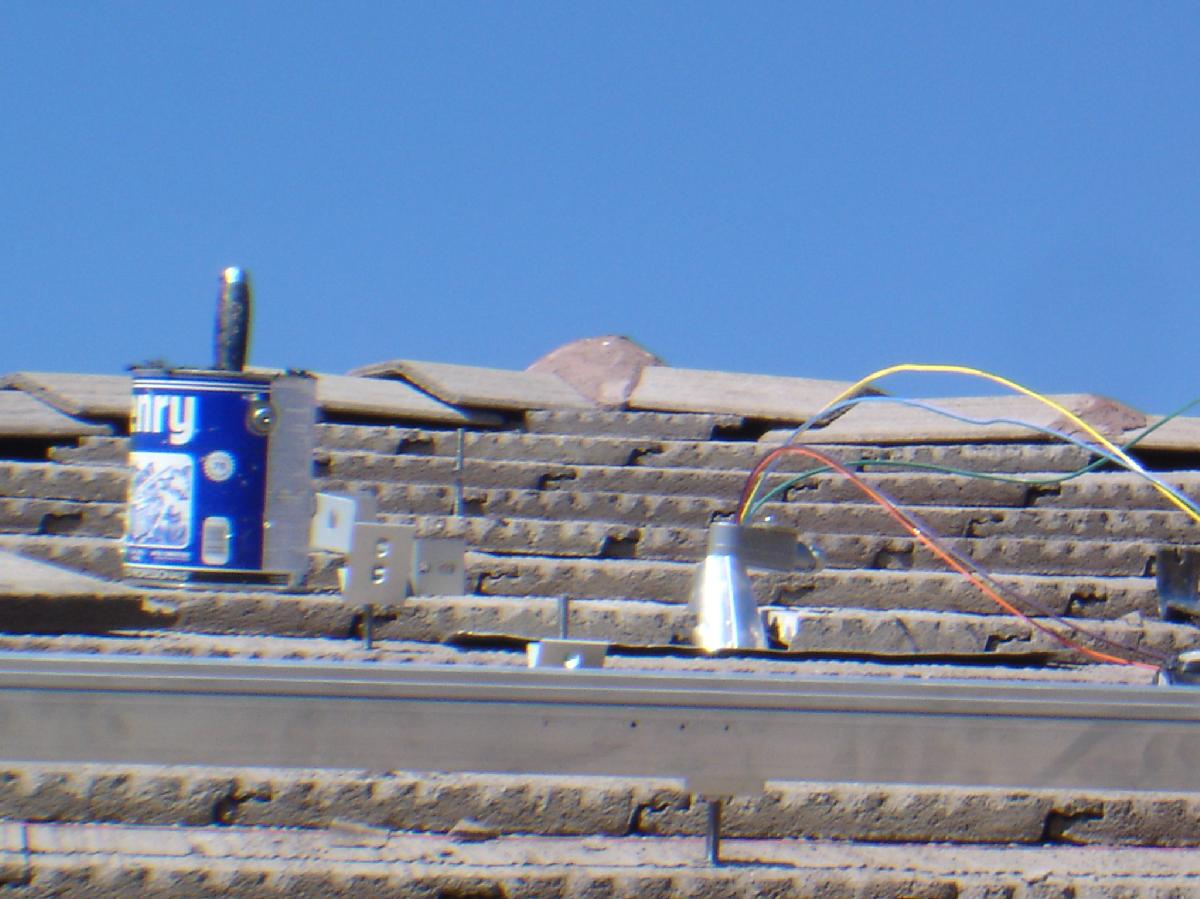
4) Feeder Drill Holes (smooth, safe, strong)
Once rafters and the mount layout are determined, feeder holes are drilled to make bolting the feet to the rafter smoother, safer, and stronger.
Original documentation references 5/16" x 3" lag screws per mounting foot (final specs can vary by engineering and site conditions).
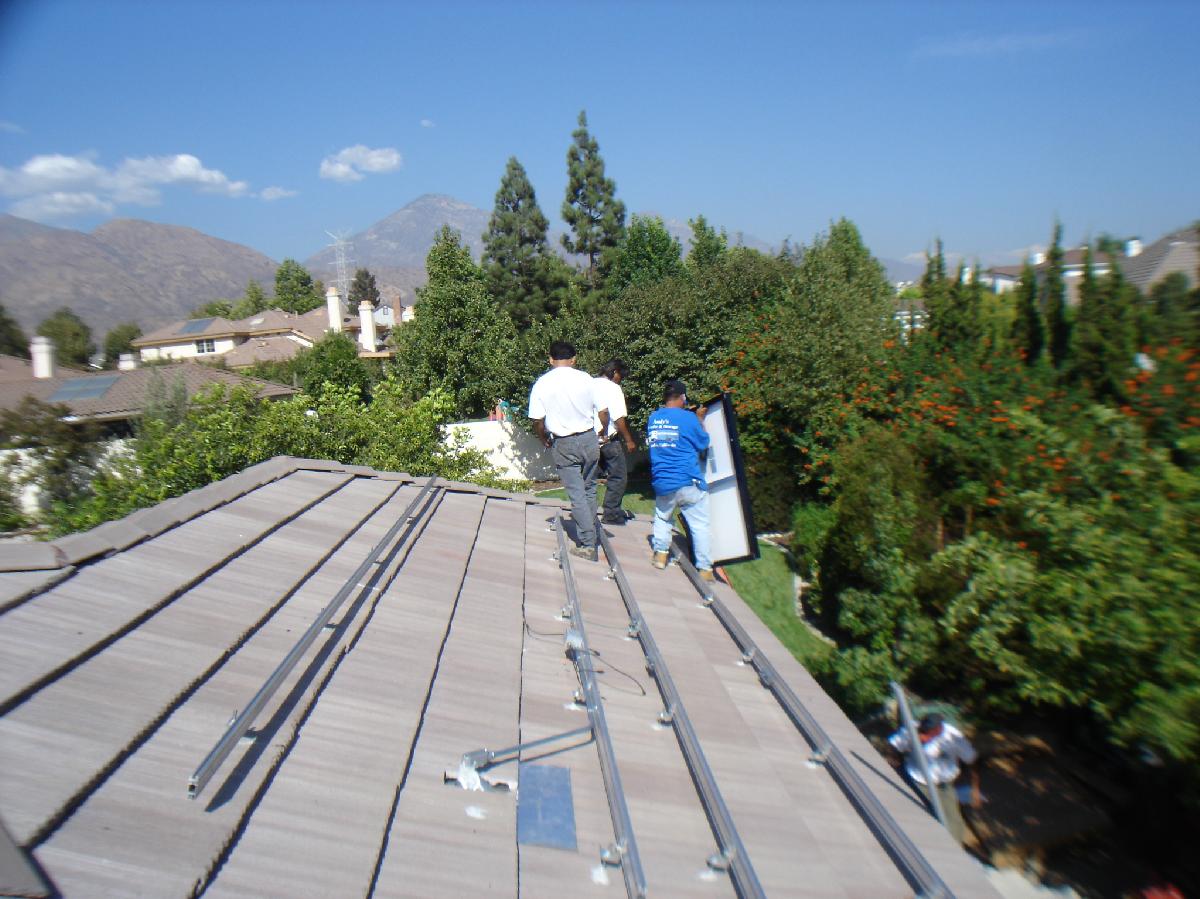
5) Solar Rails Attach to Solar Mounts
Rails are laid along the mounts to verify spacing and distance. Module count is calculated by width/height depending on portrait vs landscape orientation (including allowance for mounting parts). Rails are drilled above each mount and fastened.
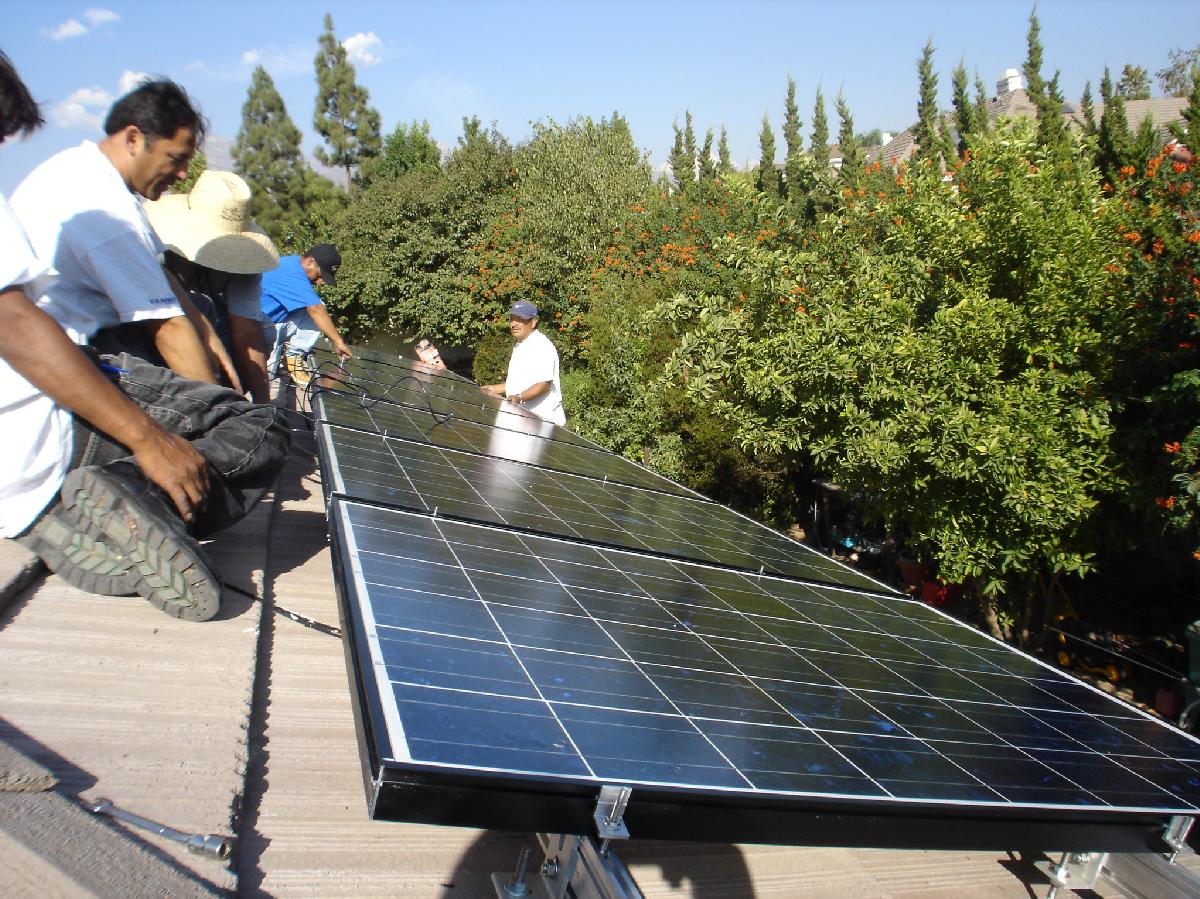

6) Solar Panels Attached to the Rails (finish + airflow)
The key thing to remember about the mounting system is that the panels sit a few inches above the roof surface. This allows cooling airflow, and it can also act as a shade barrier—helping reduce heat load on the roof plane below.

First decision: pick the best roof face
The first consideration for any solar installation is selecting the best roof plane. Key factors include shading from trees and chimneys, plus the conduit run from the array to the main electrical panel.
Design it right once. Install it clean once. Service it easily forever.