Installing Solar on a Composition Shingle Roof
A practical, photo-based walkthrough of the core steps: mounting feet, waterproofing, rails, and panel attachment. This is the “classic” ABC Solar method—clean, strong, and roof-first.
1) Mounting Feet (the foundation)
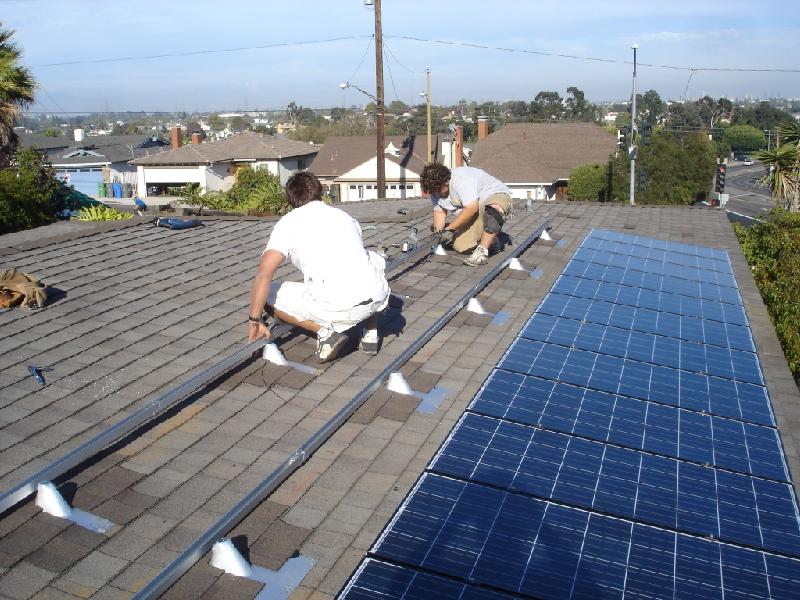
Mounting feet are the primary component of a rooftop solar installation. They anchor the system to the roof structure and support the rails that carry the modules.
On retrofit solar installations, these penetrations should be handled with a roof-minded approach—layout, rafter hit, correct fasteners, and proper sealing.

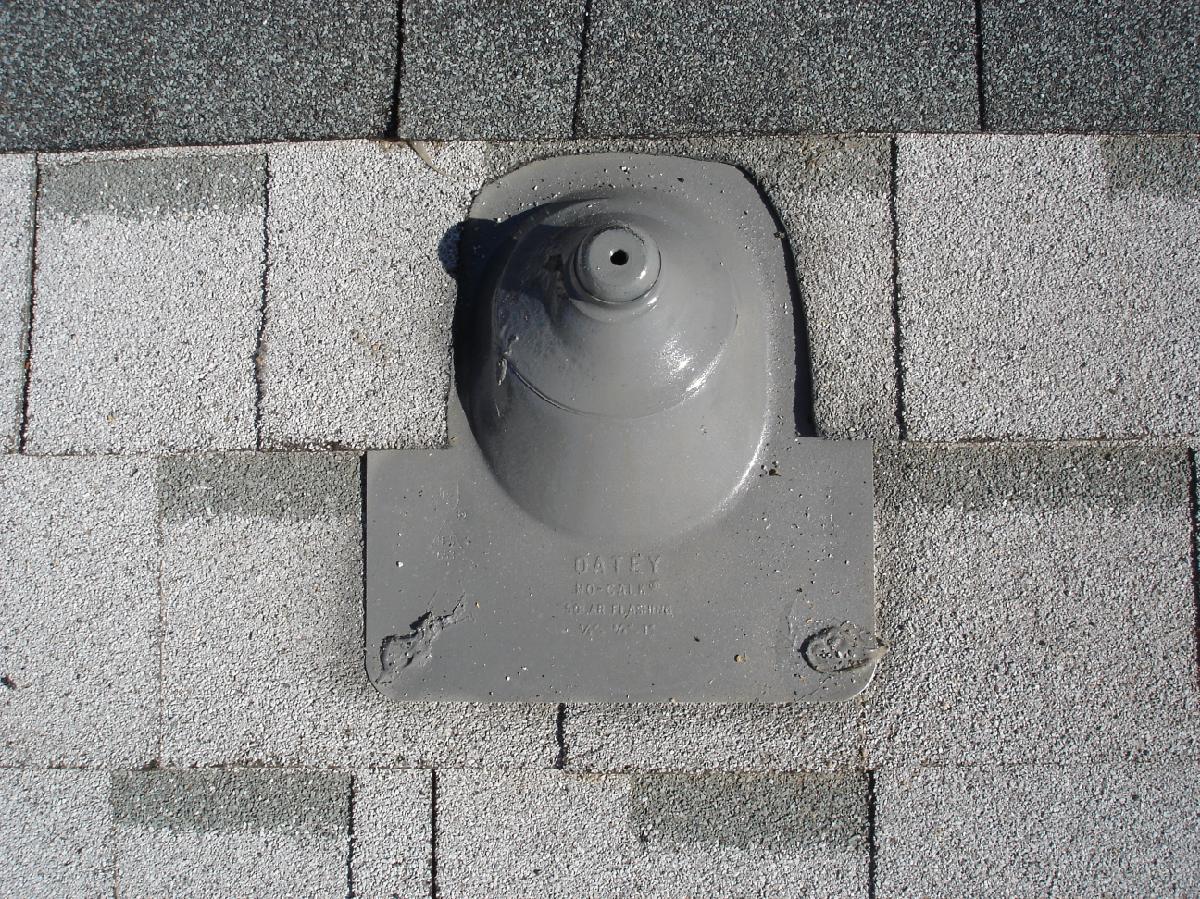
2) Waterproofing (do it like you mean it)
Penetrations are sealed using standard roofing penetration waterproofing materials. The goal is simple: the roof stays a roof for the next 20+ years.
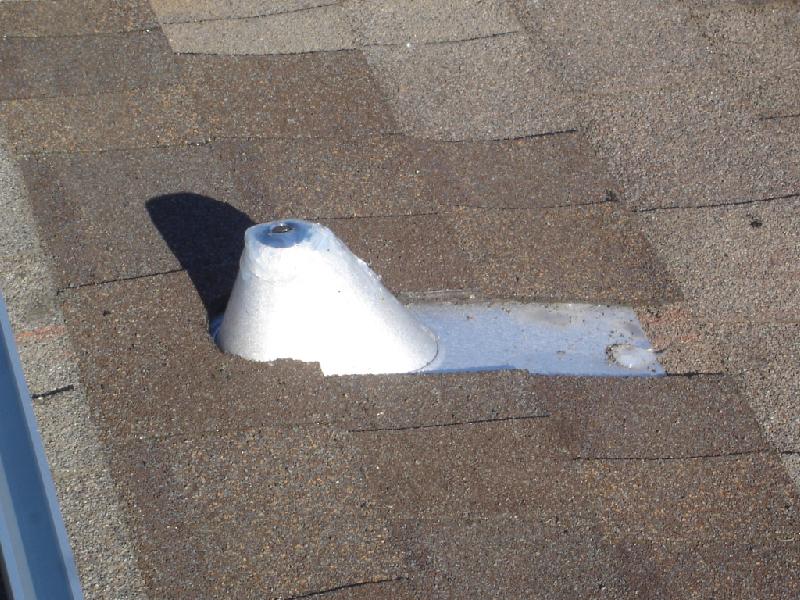
3) Feeder Drill Holes + Structural Fastening
Once rafters and mounting layout are confirmed, feeder holes make bolting smoother, safer, and stronger. The mount is then lagged into the rafter with the proper hardware.
(Hardware specs depend on engineering and site conditions; this page illustrates the workflow and installation intent.)
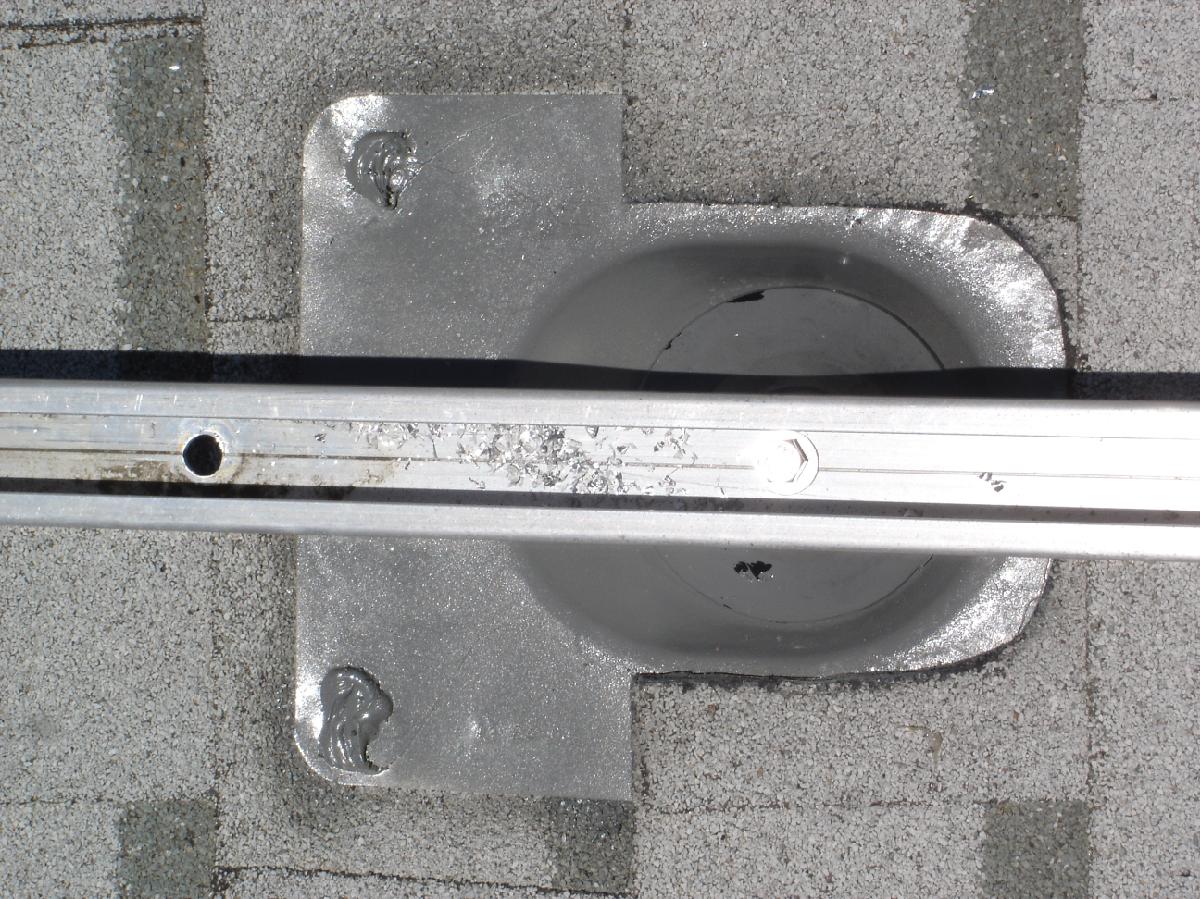
4) Rails Attach to the Solar Mounts
Rails are placed along the mounts to verify spacing and straightness. Panel count and layout are calculated by width/height depending on portrait vs landscape orientation. Rails are drilled above each mount and attached with washer + bolt.
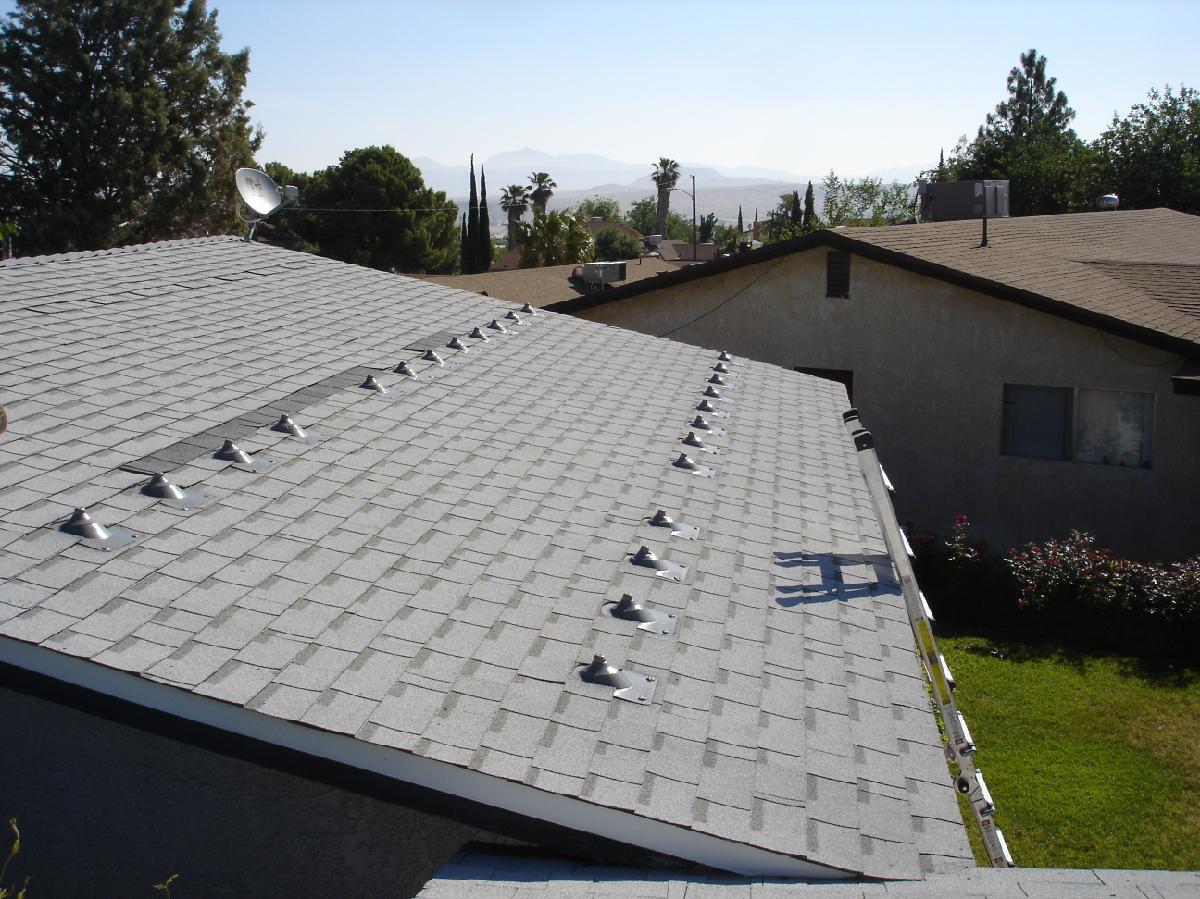
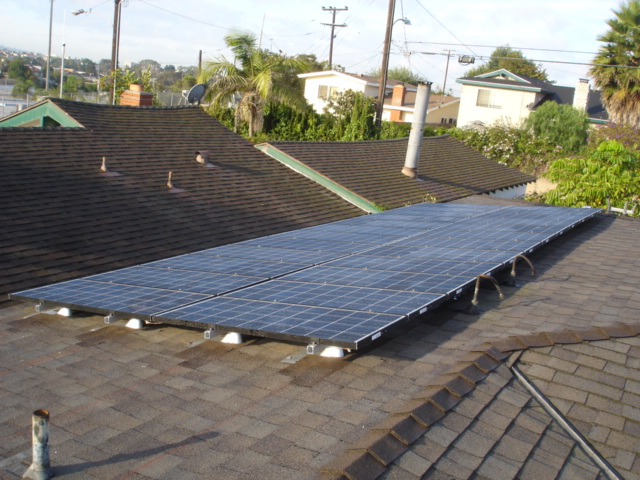
5) Solar Panels Attached to the Rails
With rails set, the module array goes on: modules are clamped, aligned, and finished cleanly. The end result should look intentional—straight lines, consistent spacing, and a solid, quiet structure.
First decision: choosing the best roof face
Before any hardware goes down, the most important decision is selecting the best roof plane: minimize shading (trees/chimneys), reduce conduit run complexity, and prioritize the cleanest electrical path to the main service equipment.